Table of Contents:
1. Introduction
This document guides you on integrating Dragino -NB and -CB series devices data with ThingsBoard. For this guide, we use ThingsBoard Cloud, which is one of the ThingsBoard versions that allows you to try it for free.
The NB series devices end with the suffix -NB, and the CB series devices end with the suffix -CB. For example, S31B-NB is an NB device, and S31-CB is a CB device.
2. Data Converters
In ThingsBoard, Data Converters are components used to transform incoming or outgoing data between different formats, typically to convert raw telemetry data from devices into a structured format that ThingsBoard can understand, or vice versa.
2.1 Uplink
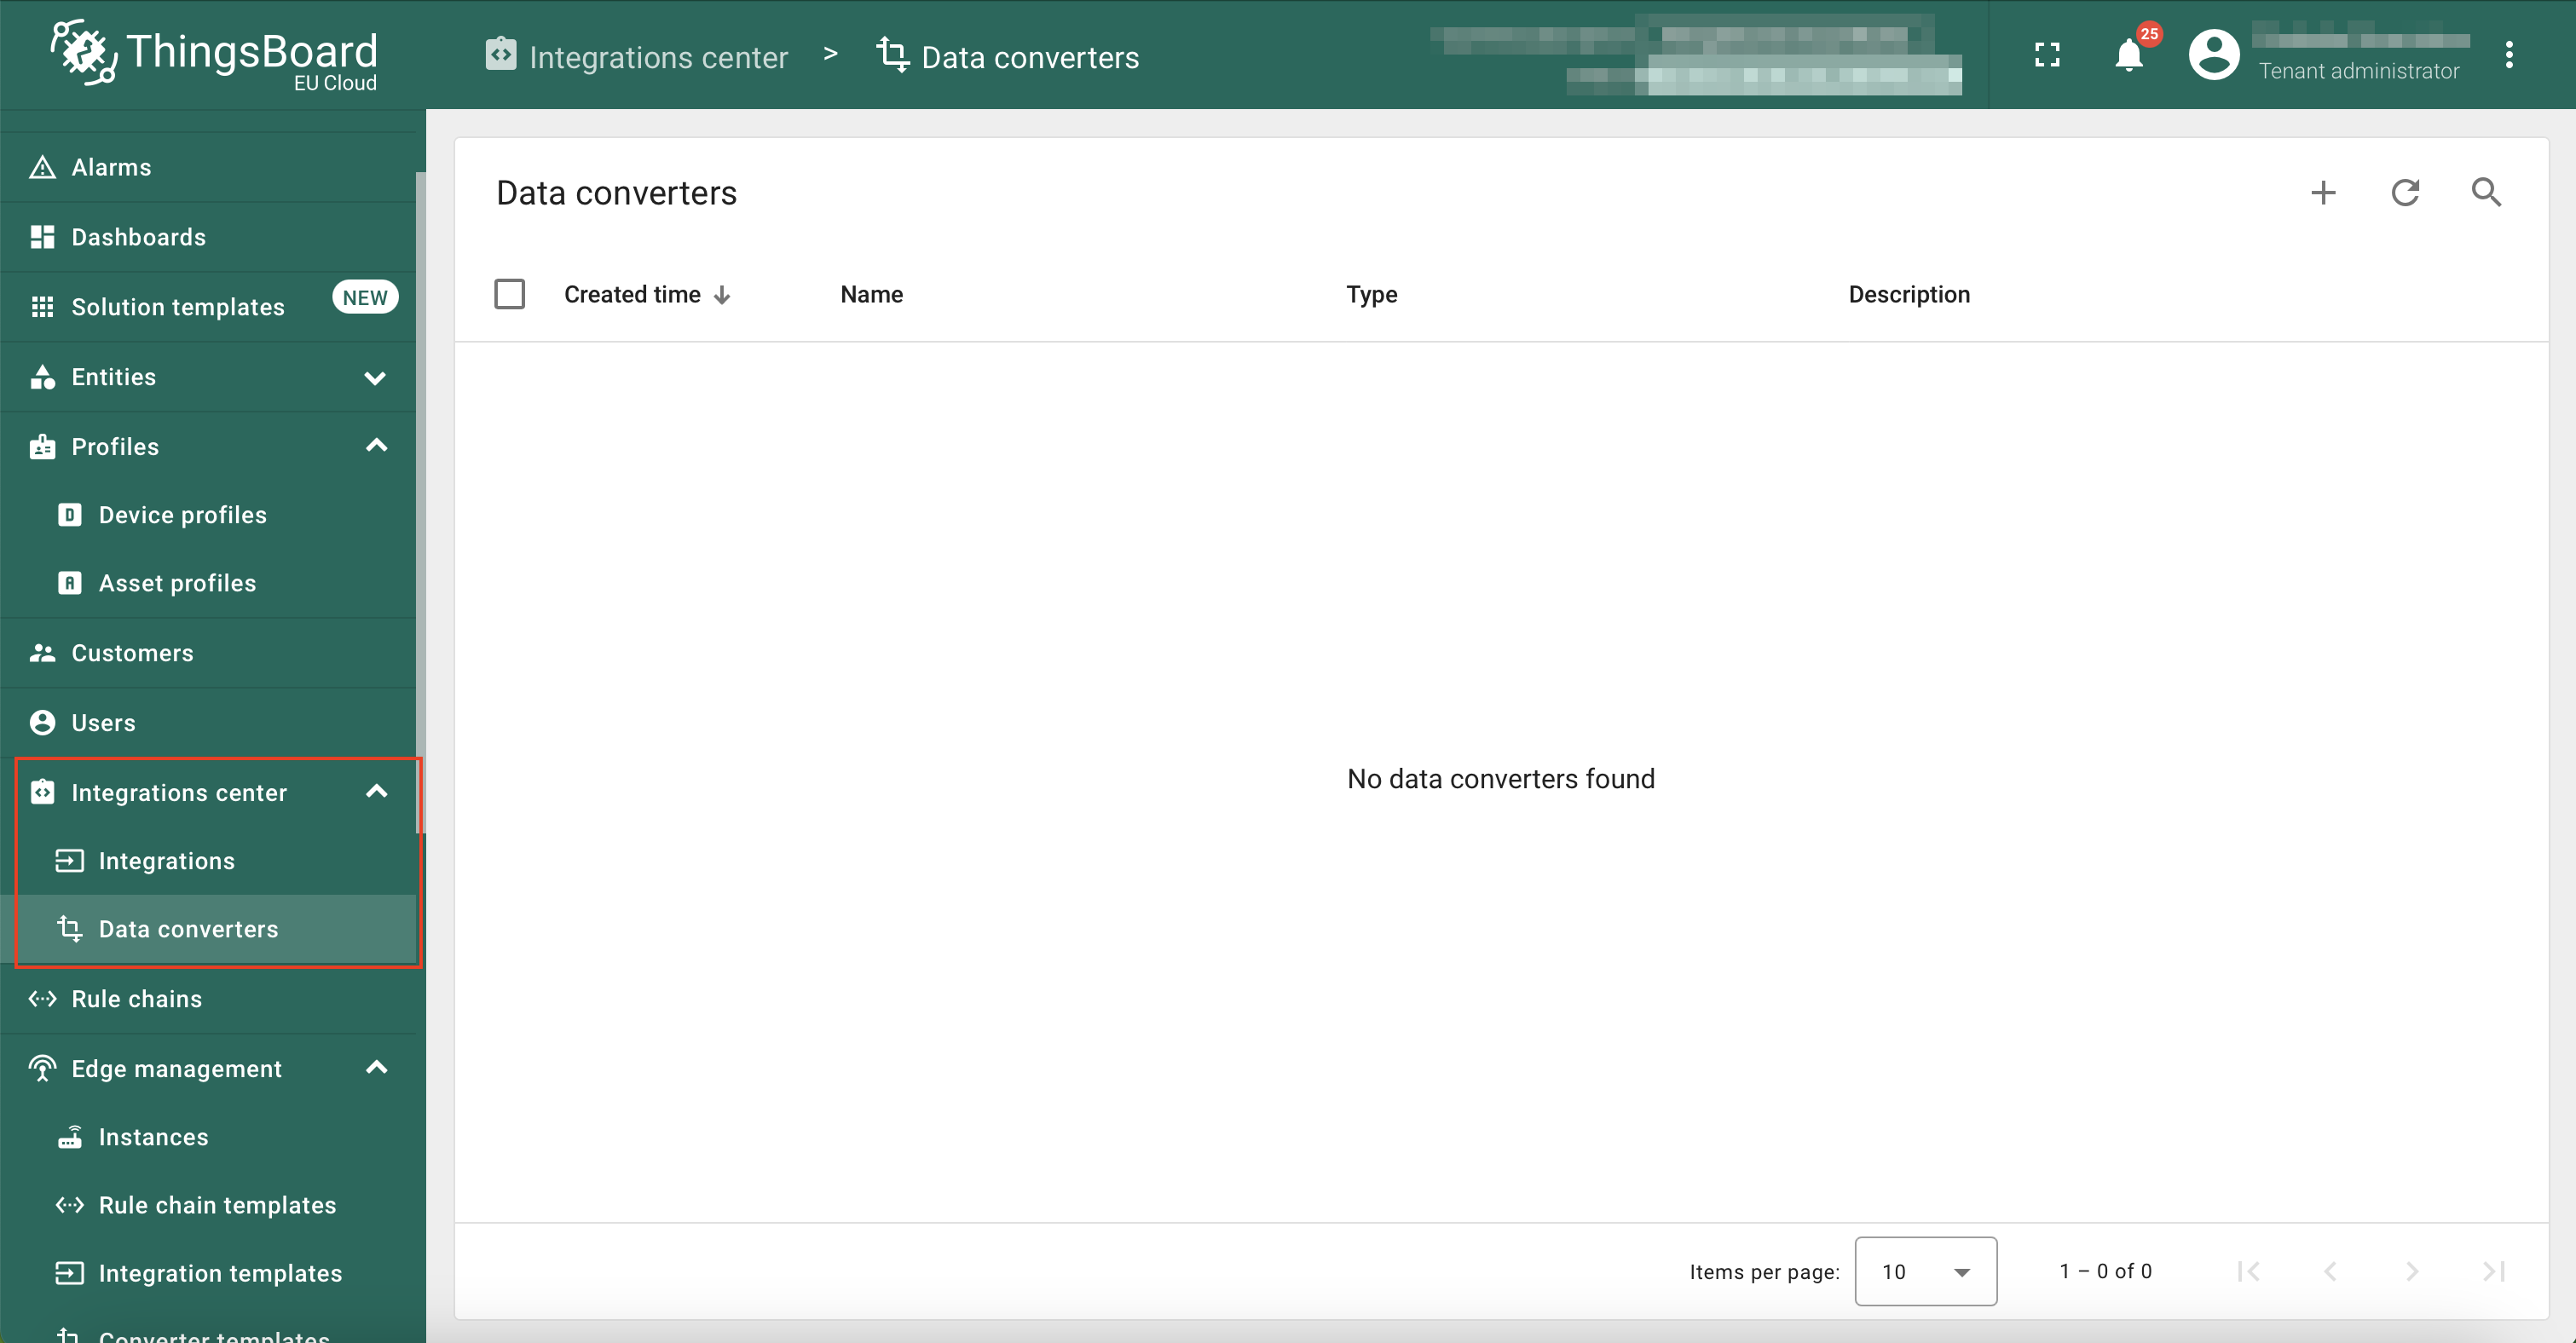
In the left navigation, click Integrations center, and then click Data converters.
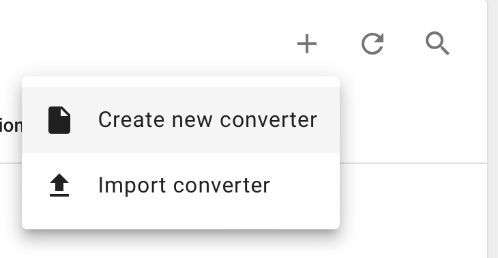
On the Data converters page, click on the ‘+’ button, and then click on the Create new converter from the dropdown menu.

The Add data converter window will appear. Name it ‘MQTT Uplink Converter NB/CB’ and select the Type as Uplink.
Click on the TBEL button if not selected it by default. Delete the existing decoder function in the code editor. Now copy and paste the following decoder function written in TBEL (ThingsBoard Expression Language) in to the code editor. This decoder function is compatible for both NB and CB series devices.
// decode payload to string
var payloadStr = decodeToString(payload);
var data = JSON.parse(payloadStr);
var deviceName = metadata.topic.split("/")[3];
// decode payload to JSON
var deviceType = 'sensor';
// Result object with device attributes/telemetry data
var result = {
deviceName: deviceName,
deviceType: deviceType,
attributes: {
integrationName: metadata['integrationName'],
},
telemetry: {
temperature: data.temperature,
humidity: data.humidity,
}
};
/** Helper functions 'decodeToString' and 'decodeToJson' are already built-in **/
return result;
Click on the Add button.

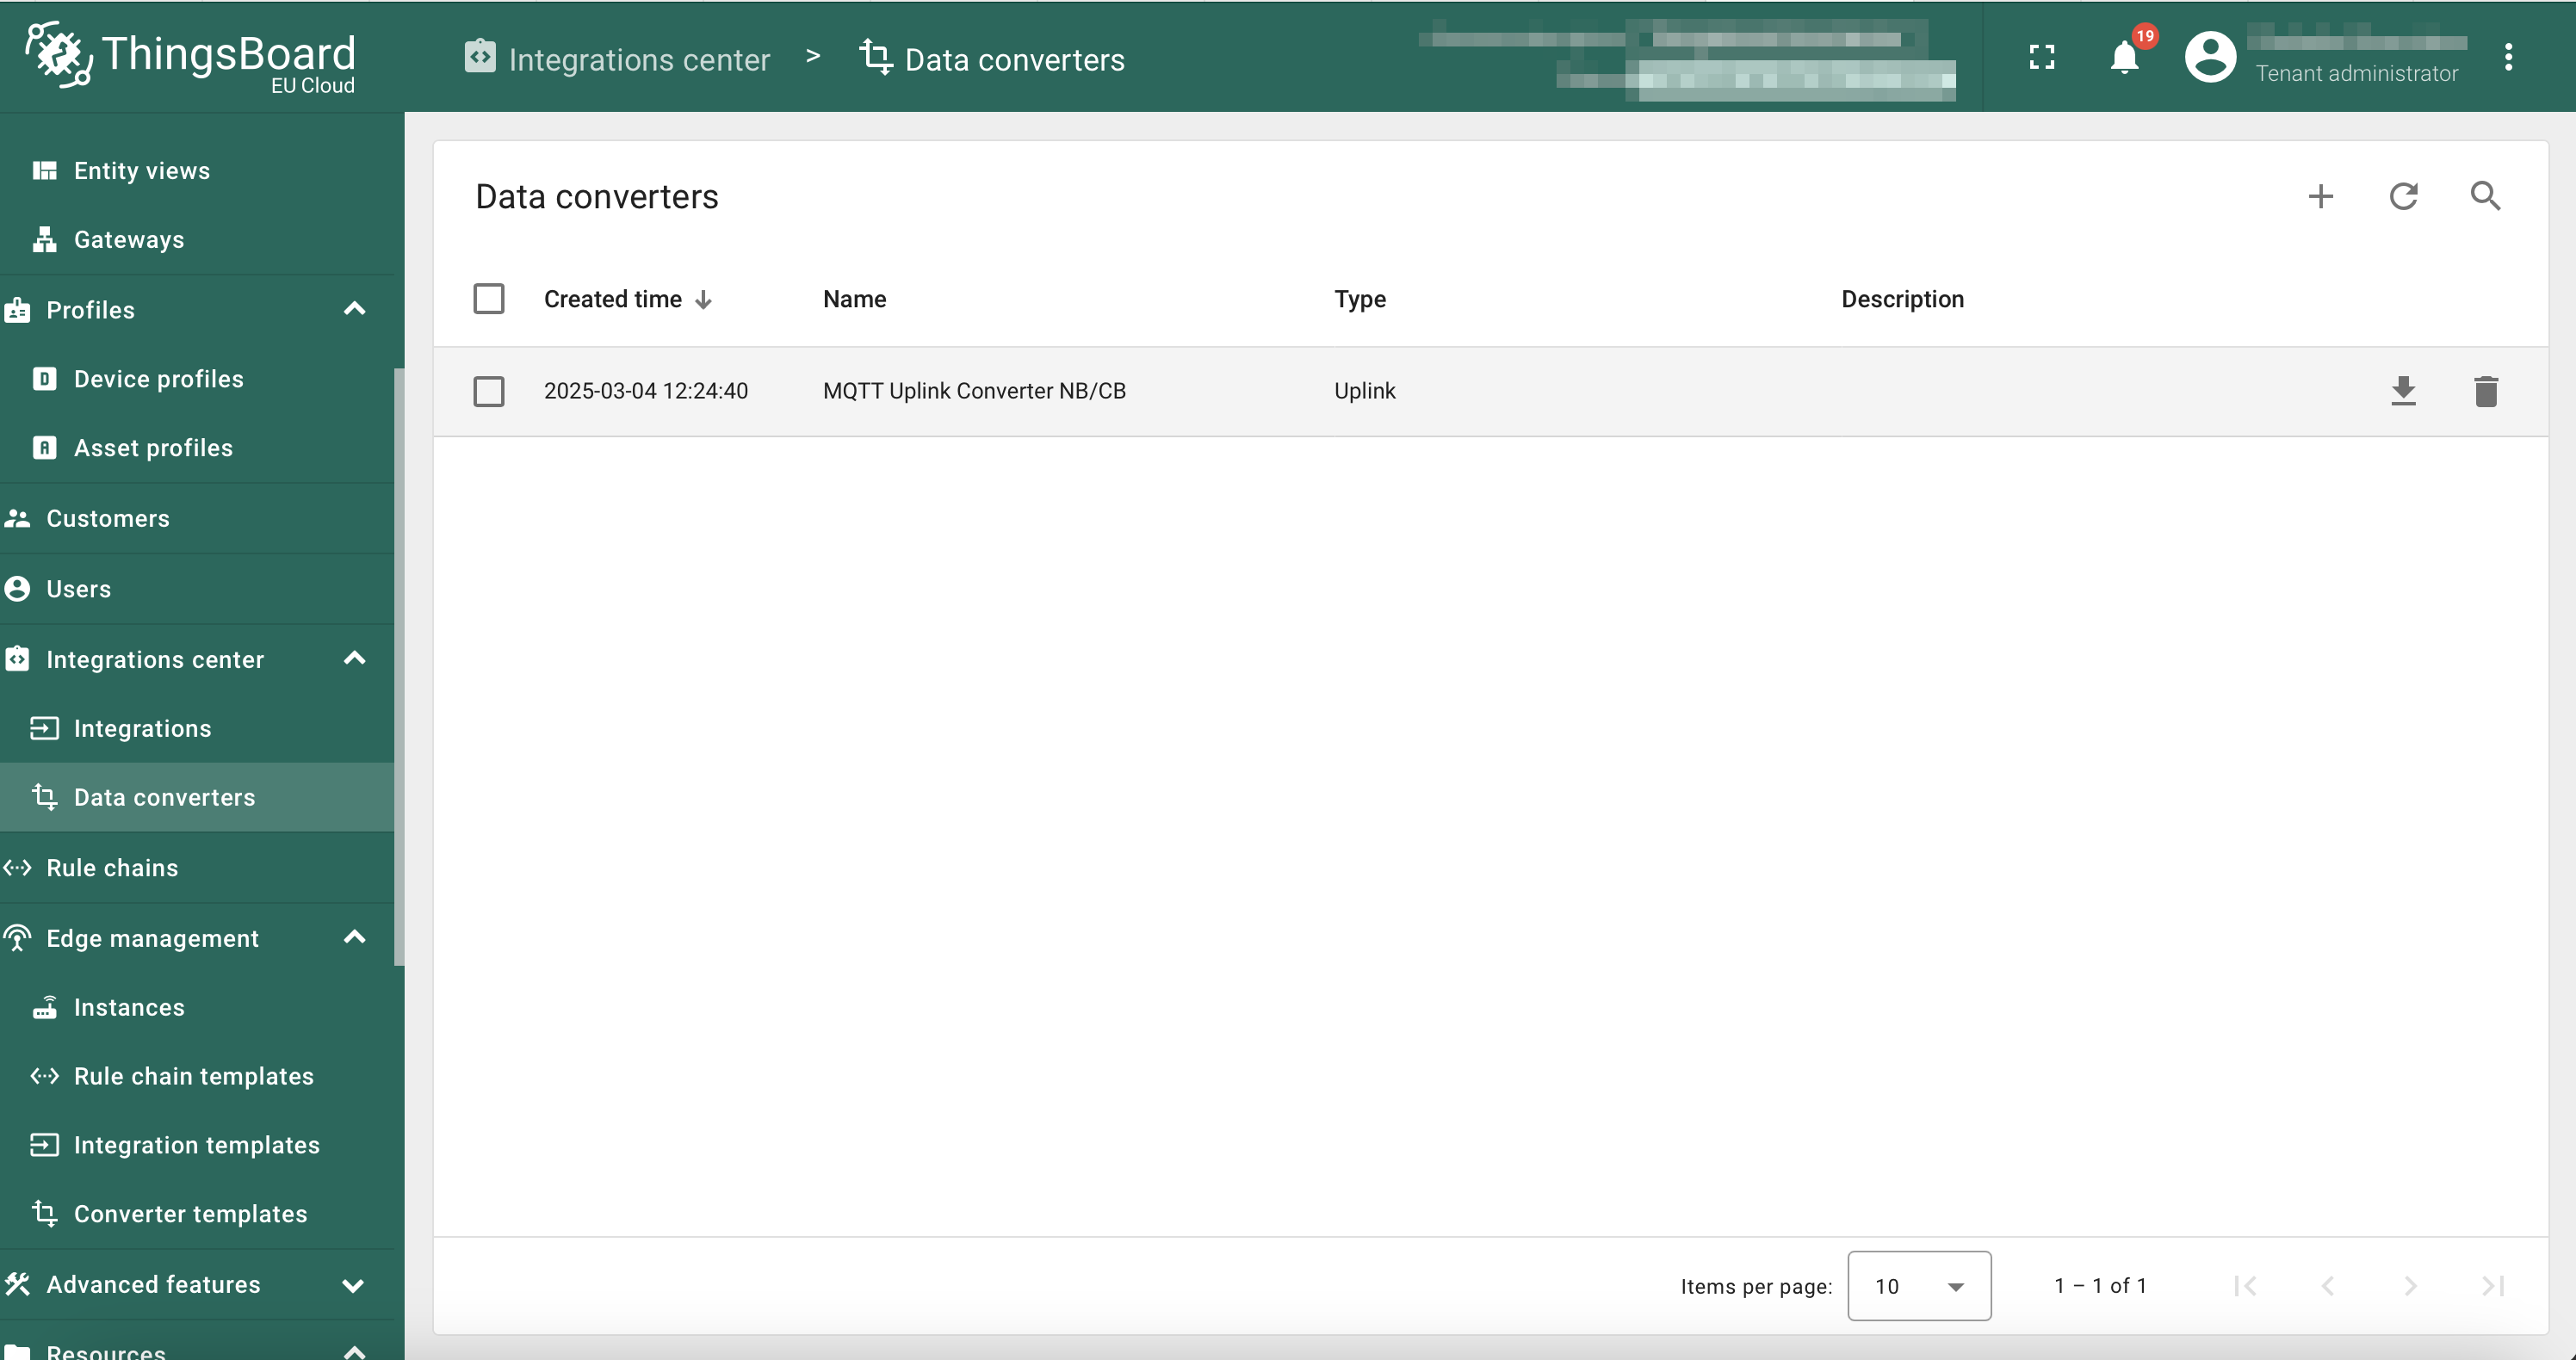
You should see that the newly added MQTT Uplink converter NB/CB is listed on the Data Converters page.
3.2 Downlink
On the Data converters page, click on the ‘+’ button, and then click on the Create new converter from the dropdown menu.
The Add data converter window will appear. Name it ‘MQTT Downlink Converter NB/CB’ and select the Type as Downlink.
Click on the TBEL button if not selected it by default. Now copy and paste the following encoder function written in TBEL (ThingsBoard Expression Language) in to the code editor. This encoder function is compatible for both NB and CB series devices.
// msg - JSON message payload downlink message json
// msgType - type of message, for ex. 'ATTRIBUTES_UPDATED', 'POST_TELEMETRY_REQUEST', etc.
// metadata - list of key-value pairs with additional data about the message
// integrationMetadata - list of key-value pairs with additional data defined in Integration executing this converter
/** Encoder **/
var data = {};
// Process data from incoming message and metadata
data.tempFreq = msg.temperatureUploadFrequency;
data.humFreq = msg.humidityUploadFrequency;
data.devSerialNumber = metadata['ss_serialNumber'];
// Result object with encoded downlink payload
var result = {
// downlink data content type: JSON, TEXT or BINARY (base64 format)
contentType: "JSON",
// downlink data
data: JSON.stringify(data),
// Optional metadata object presented in key/value format
metadata: {
topic: metadata['deviceType']+'/'+metadata['deviceName']+'/upload'
}
};
return result;
Click on the Add button.

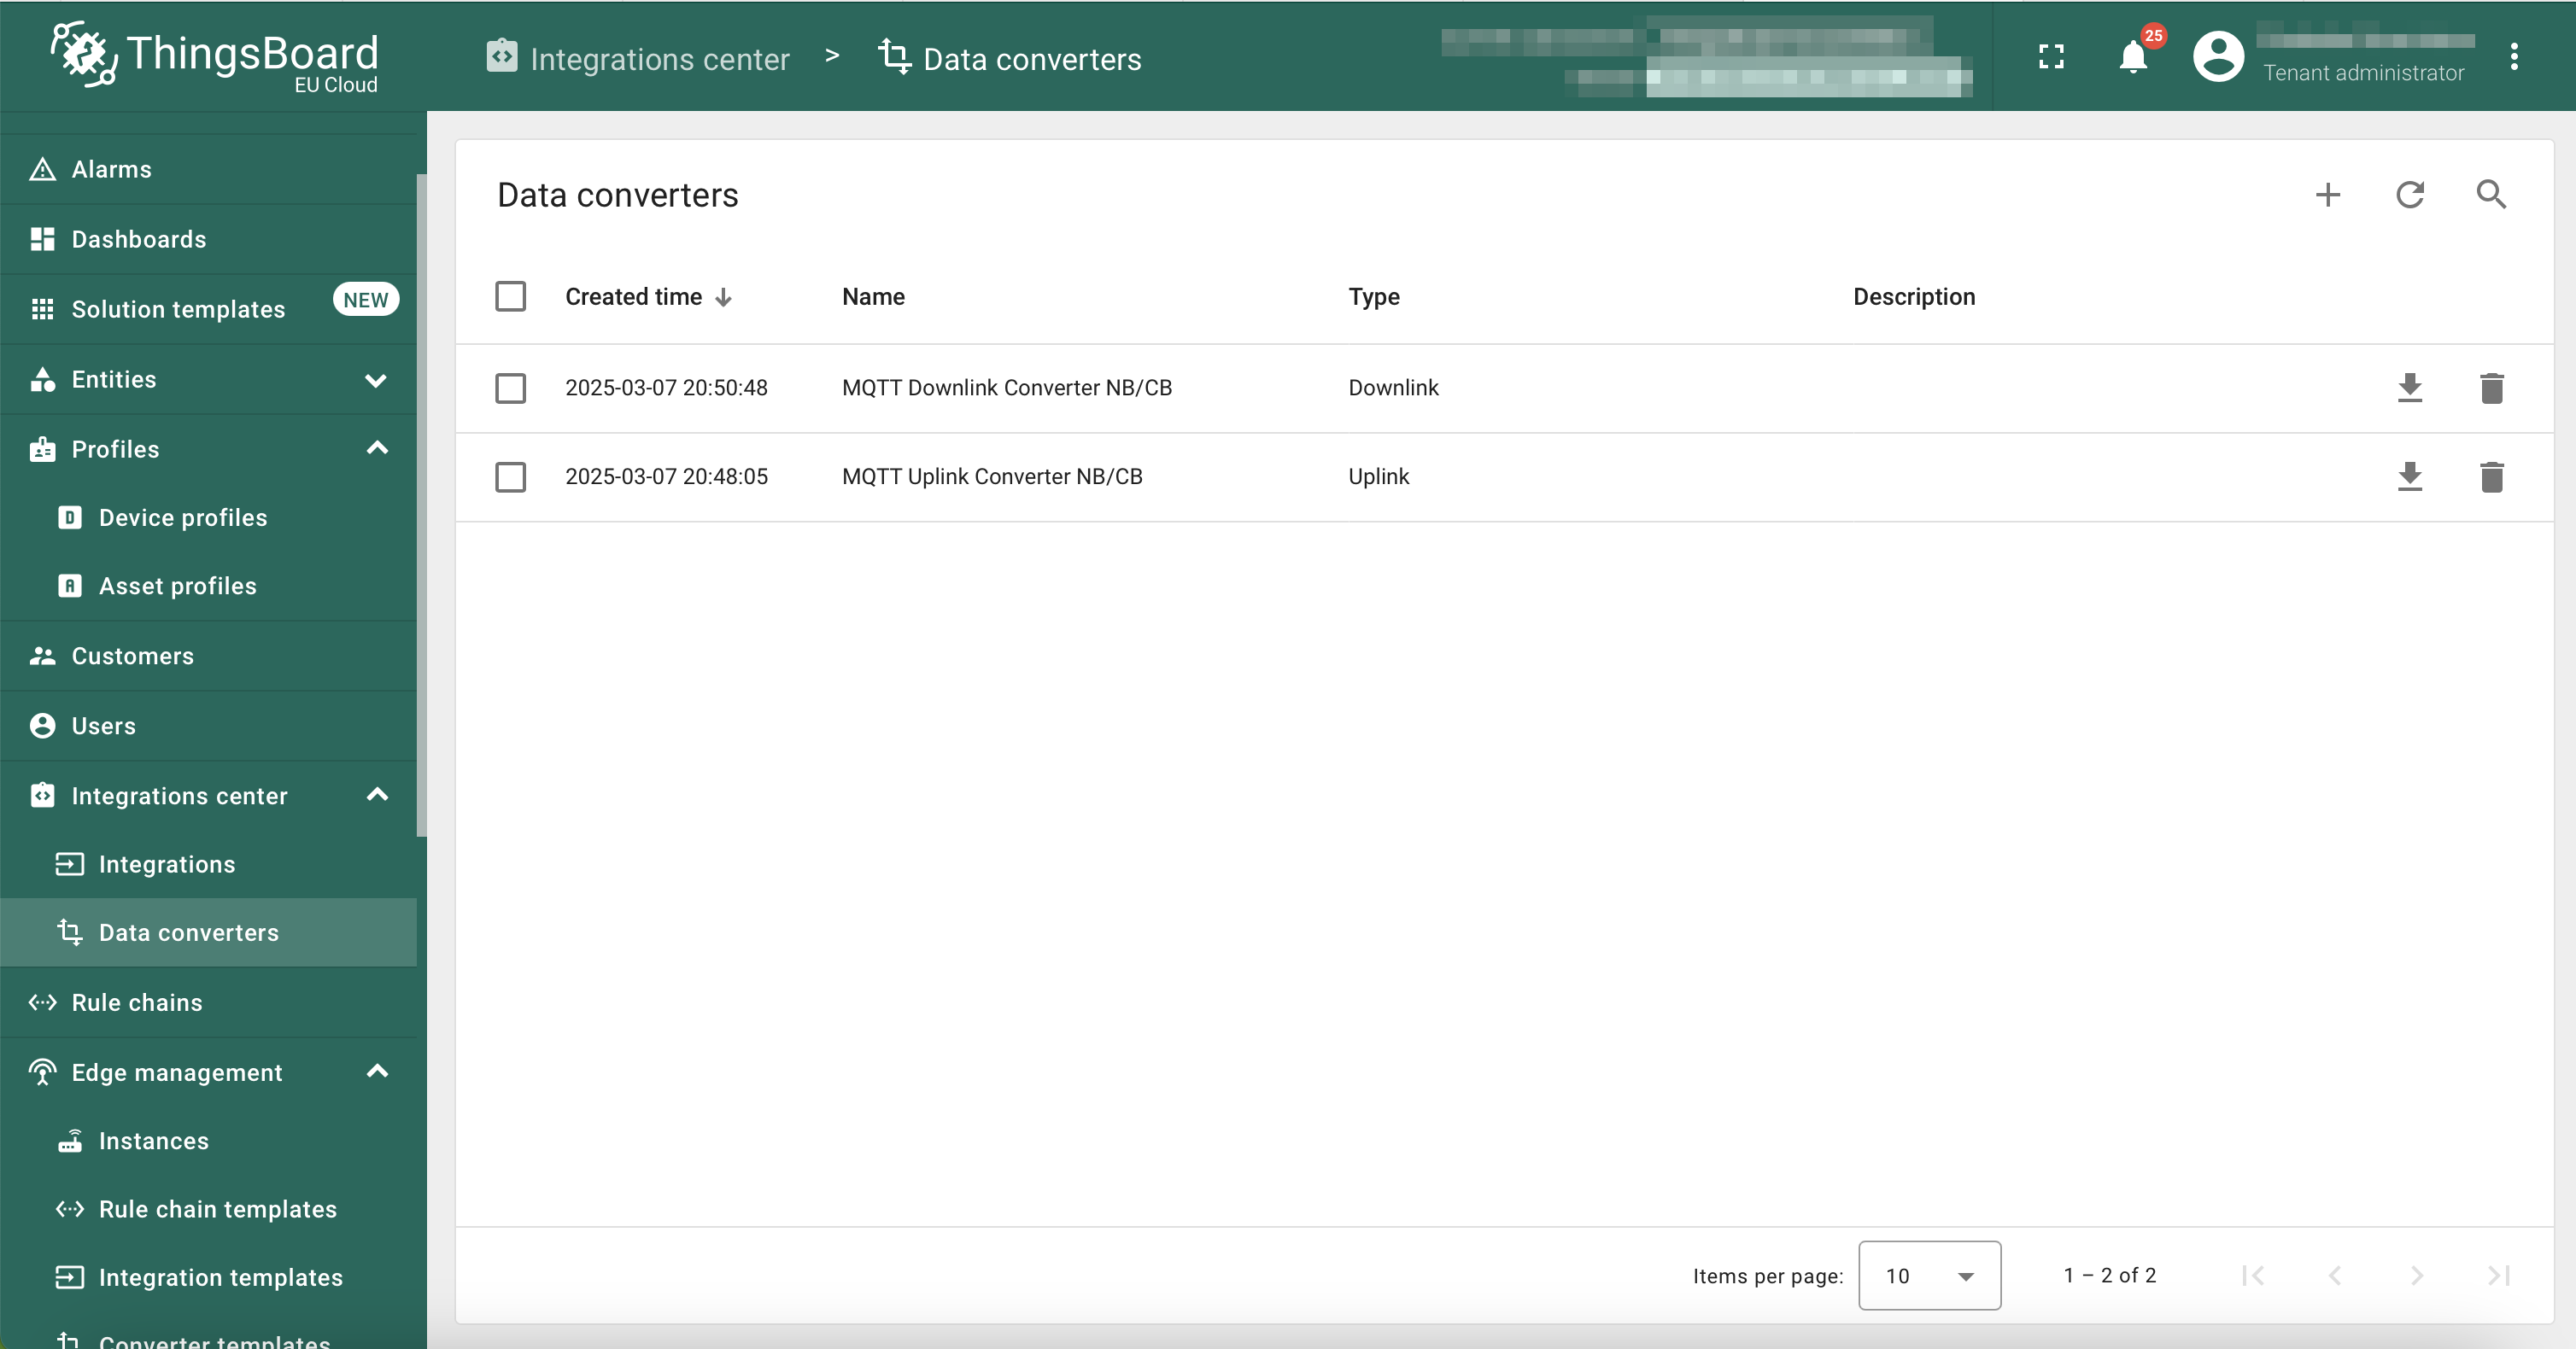
You should see that the newly added MQTT Downlink Converter NB/CB is listed on the Data Converters page.
3. Add Integration
In the left navigation, click Integrations center, and then click Integrations.

On the Integrations page, click on the '+' button.
The Add integration window appears.
In the Add integration window, configure the following settings:
Basic settings:
- Integration type: MQTT
- Name: MQTT integration NB/CB
- Enable integration: YES
- Allows create devices or assets: YES
Click Next button.

Uplink data converter:
- Click on the Select existing button.
- Uplink data converter: Select MQTT Uplink Converter NB/CB from the dropdown list.
Click Next button.

Downlink data converter:
- Click on the Select existing button.
- Downlink data converter: Select MQTT Downlink Converter NB/CB from the dropdown list.
Click Next button.

Connection:
- Host: Cluster URL (Eg. 011731f7928541588a6cdfbbedfc63f4.s1.eu.hivemq.cloud)
- Port: 8883
- Credentials: Basic
- Enable SSL: YES
- Username: Username (from your HiveMQ Cloud Cluster with your credentials)
- Password: Password (from your HiveMQ Cloud Cluster with your credentials)
- Topic: tb/mqtt-integration-tutorial/sensors/+/telemetry (the + replaces any 'device name' and creates devices in the Entities -> Devices)
- QoS: 0-At most once

Click on the Advanced settings button.
- Clean session: NO
- Retained: NO

Click on the Check connection button to verify the MQTT connection using the provided parameters.

If the connection is successful, you will see the Connected message.

Click on the Add button.
You should see that the newly added integration is listed on the Integrations page.
Since we haven't received data from a device yet, the integration Status is shown as Pending.

5. Verifying the receipt of data from the device
On the terminal, issue the following MQTT command which simulates the device S31B-NB.
If the integration was performed without errors, after the transmission of the first telemetry, a new device with the name “S31B-NB” will appear in the Devices → All. Also, you can verify the input and output data, respectively, before and after conversion in Data converters → UDP Uplink Converter NB/CB → Events.