Contents:
1. Introduction
In this chapter, we set up a CoAP/ MQTT server by using Open Source MQTT Broker : EMQX.IO. And show how to communicate it with CoAP and MQTT.
Below is the network structure. The end device use CoAP to connect our Emqx server via NB-IoT network. EMQ X broker will further process the data for the actually application.
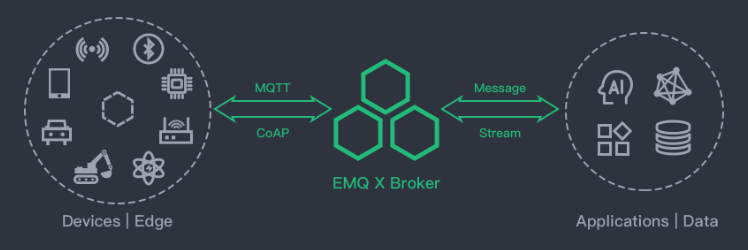
Network structure
2. Install CoAP server
Set up example in Ubuntu 18.04
sudo apt-get update
sudo apt-get upgrade
wget https://www.emqx.io/downloads/broker/v3.2.7/emqx-ubuntu18.04-v3.2.7_amd64.deb #download the installation package.
sudo dpkg –i emqx-ubuntu18.04-v3.2.4_amd64.deb #install EMQX
emqx start # Start EMQX service
emqx_ctl status #check if EMQX is running
./bin/emqx_ctl plugins load emqx_coap # Run COAP service
Notice: CoAP default port use 5683, if you install EMQX in a cloud server, make sure you open the UDP port 5683. So can receive the packets from NB-IoT.
3. Test CoAP Server
3.1 Install Copper in Chrome
1. Download Copper4Cr from https://github.com/mkovatsc/Copper4Cr and unpack it.
2. Run install.bat in the directory.
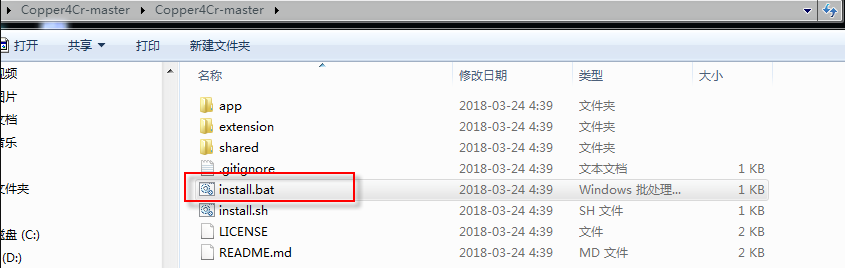
Run install.bat
3. Load the unpacked CoAP APP in Google Chrome:

Install Copper APP
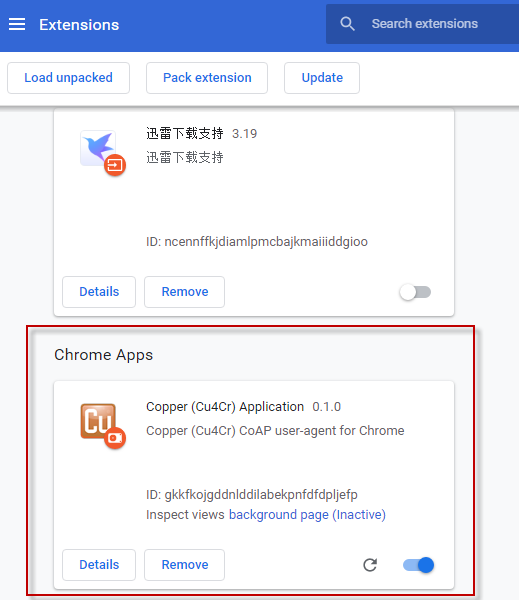
Install APP Successful
4. Load the unpacked CoAP extension in Google Chrome:
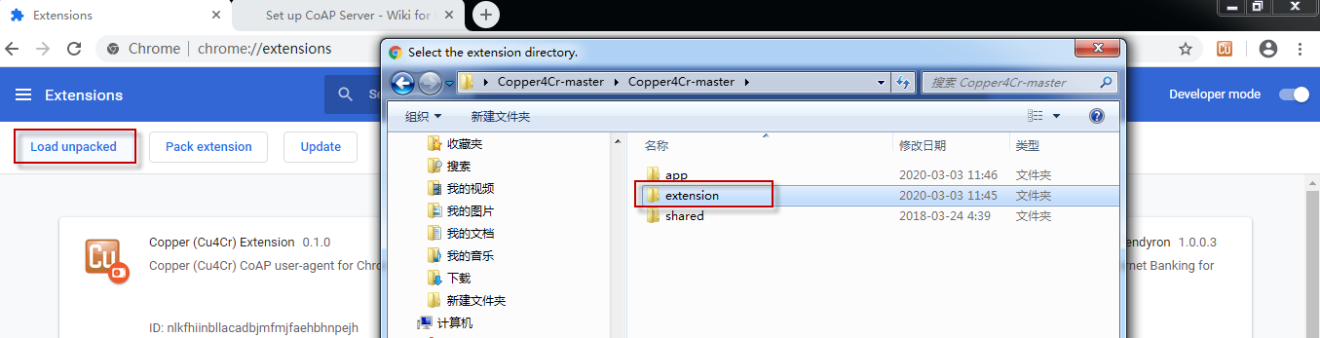
Install Copper Extension
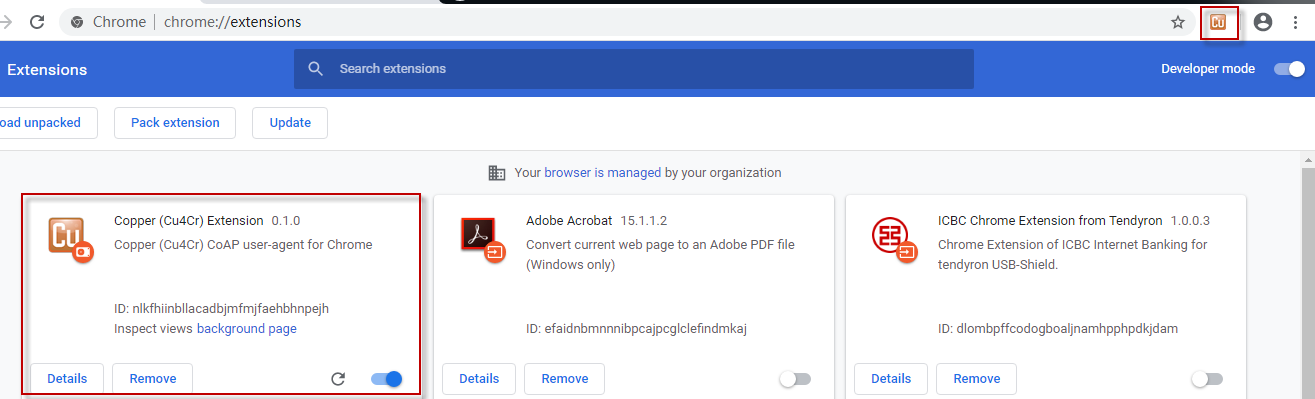
Install Extension Successful
5. Replace the appID in file extension\endpoint\ClientPortChrome.js to Copper (Cu4Cr) Application ID
Replace ID
6. Open the Copper extension. If you see below message, means install successfully.
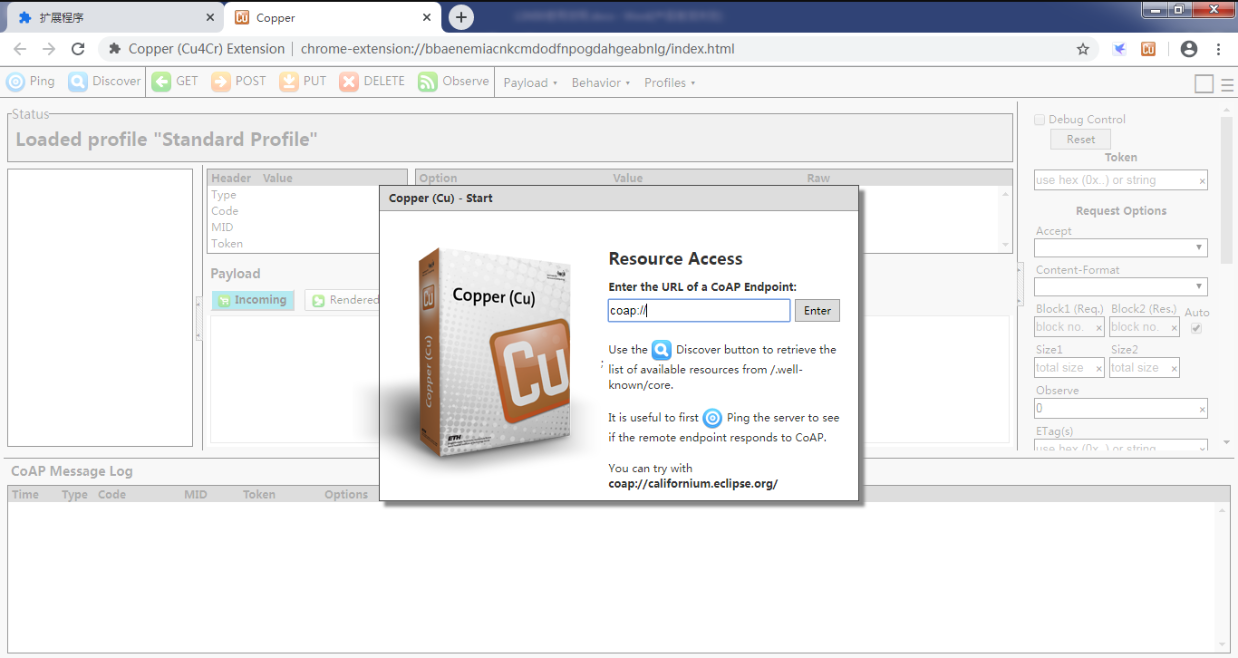
Install Finished
3.2 Test CoAP connection
Use Chrome Copper externsion to connect to the CoAP server. Input coap://COAP_SERVER_IP/mqtt/topic0?c=t1 to connect to the MQTT topic0 in CoAP server. Replace COAP_SERVER_IP with your COAP Server IP address, and refer here for the CoAP detail in EMQX. When connection ok, you can see below window.

Connect to CoAP server
3.3 Test CoAP Uplink
Try to use MQTT.fx to subscribe a the topic (topic0) in the server. And use CoAP to send a message to this topic, we can see the message arrive the topic0 and shown in MQTT.fx.

Use MQTT.fx to subscribe the topic

Use CoAP Exension to send a update to CoAP server

MQTT.fx get the update of this topic on CoAP server
3.4 Test CoAP Downlink
Try to use MQTT.fx to publish a message to the topic (topic0) in the server. CoAP extension will see this incomming message.