OTA Upgrade for -FB / -FS/ -FE models
1. Overview
This document describes how to update the firmware of Dragino -FE / -FB / -FS series end nodes based on the Nordic nRF9151 module using an OTA (Over-The-Air) update via HTTP.
The same OTA update procedure applies to all three series and allows the firmware to be updated remotely without physical access to the device.
2. OTA Firmware Update via HTTP
Perform the following steps:
① Place the .bin firmware file for your device model on an HTTP-accessible server.
② Send the following command to the device through the serial port or a supported remote command interface:
AT+UPGRADE=<firmware_url>
Example for an S31B-FE device:
AT+UPGRADE=http://repo.dragino.com/release/NB/S31B-FE.bin
Replace the example URL with the firmware URL for your device model.
③ After receiving the upgrade command, the device will automatically download and update the firmware, as shown below:
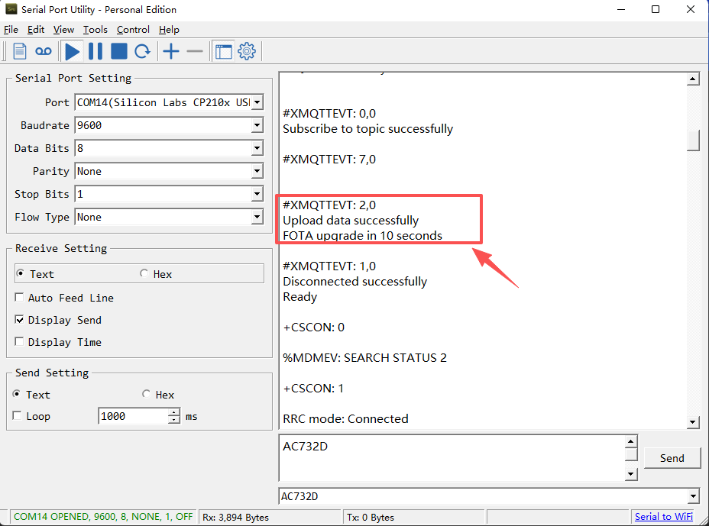
After the FOTA download is complete, do not reset or operate the device. The device is still converting and validating the firmware. Under normal circumstances, this process takes several tens of seconds, depending on the firmware size.
If firmware validation fails, the device may remain in this state for several minutes. If the firmware is found to be invalid, the device will roll back to the previous firmware version. The rollback process may take up to 10 minutes. Wait for the process to finish before operating the device.